Butter mints are one of those old-fashioned candies people often recognize before they remember the name. Also called buttercream mints or wedding mints, they are the small pastel sweets traditionally found in candy dishes at weddings, showers, holidays, restaurants, and family gatherings. Their appeal is simple: buttery sweetness followed by a clean peppermint finish, with a texture that slowly disappears rather than needing to be chewed. They belong to the same nostalgic corner of homemade sweets as fudge and peppermint creams, but butter mints have their own softer personality.
Getting the texture right can be tricky, especially when butter mints turn sticky, crumbly, or too firm. Follow us for simple tips that help you get that familiar texture at home.
1. Start With Butter That Gives, Not Butter That Runs
The butter is the foundation of the candy, so its condition matters. Properly softened butter blends smoothly with the sugar and helps give the mints their familiar soft texture. If it’s too cold, the mixture can stay lumpy, while butter that is too warm can make the dough loose and greasy.
You want butter that is soft enough to press with a fingertip but still holds its shape. Let it soften naturally at room temperature, and if it looks shiny or partly liquid, give it time to firm up again.
Beat the butter until smooth before adding the powdered sugar. This creates a more even mixture and makes the texture easier to control as the dough comes together.
2. Let Powdered Sugar Build the Dough Slowly
Butter mints are unusual because powdered sugar does more than provide sweetness. It gives the soft butter enough structure to become a workable candy dough, so adding it gradually helps you keep control of the final texture rather than ending up with something too stiff or too soft.
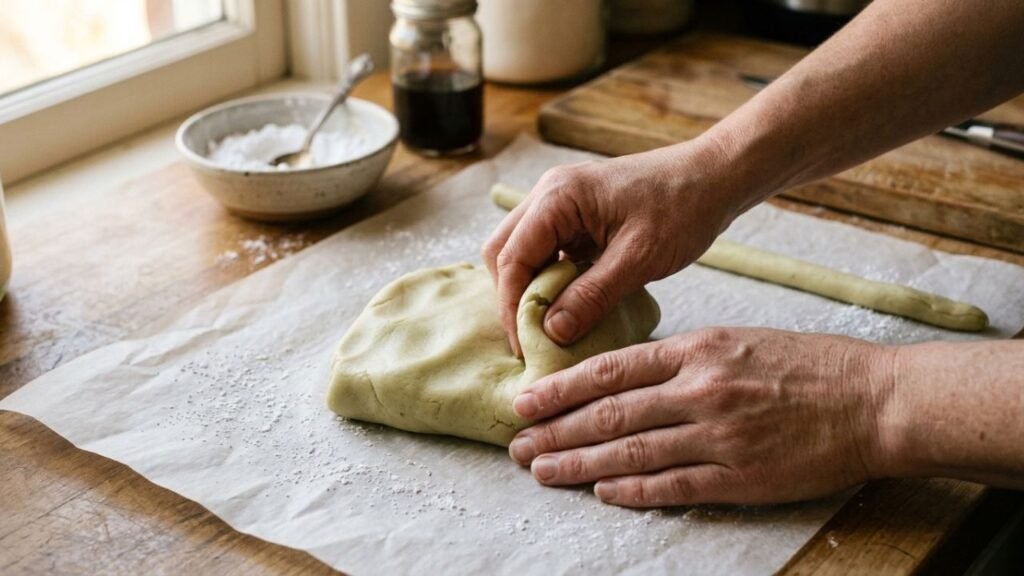
Add the sugar gradually. At first, the mixture may look sandy and disconnected, but it will slowly come together as you work it. The finished dough should feel somewhere between cookie dough and soft modeling clay, pliable enough to roll but firm enough to hold its shape.
If the dough sticks heavily to your fingers, add a little more powdered sugar. If it falls apart when squeezed, it needs a small amount of moisture. Make either adjustment slowly so you don’t push the dough too far in the other direction.
3. Keep the Peppermint in the Background
The best butter mints are not necessarily the ones with the strongest peppermint flavor. The extract should give the candy a cool, recognizable finish without covering up the buttery sweetness underneath. Too much can make the flavor feel sharp rather than refreshing.
Peppermint extract is concentrated, so start modestly and taste a small piece once the dough comes together. Give it a moment before deciding whether it needs more, since the mint becomes more noticeable as it lingers.
The butter should still be easy to notice. That gentle buttery note is what gives these mints their character instead of making them taste like ordinary peppermint candy.
4. Use Liquid Like a Tuning Knob
Milk or cream can help bring the dough together, but it needs a careful hand. The amount you need can vary with the butter, powdered sugar, and even the humidity in your kitchen, so the goal is to add just enough moisture to make the dough smooth and workable.
Start with a small amount and add more only if the dough needs it. Watch its consistency rather than relying entirely on a fixed measurement.
Too much liquid can make the dough sticky and force you to add more powdered sugar, leaving the mints heavier and sweeter than intended. Stop as soon as the dough comes together easily.
5. Give the Candy a Smaller, More Delicate Shape
Butter mints are better when they are small. Thick pieces can feel overly sweet, while smaller ones let the buttery flavor and peppermint come through more gently. They are also easier to serve and enjoy one at a time.
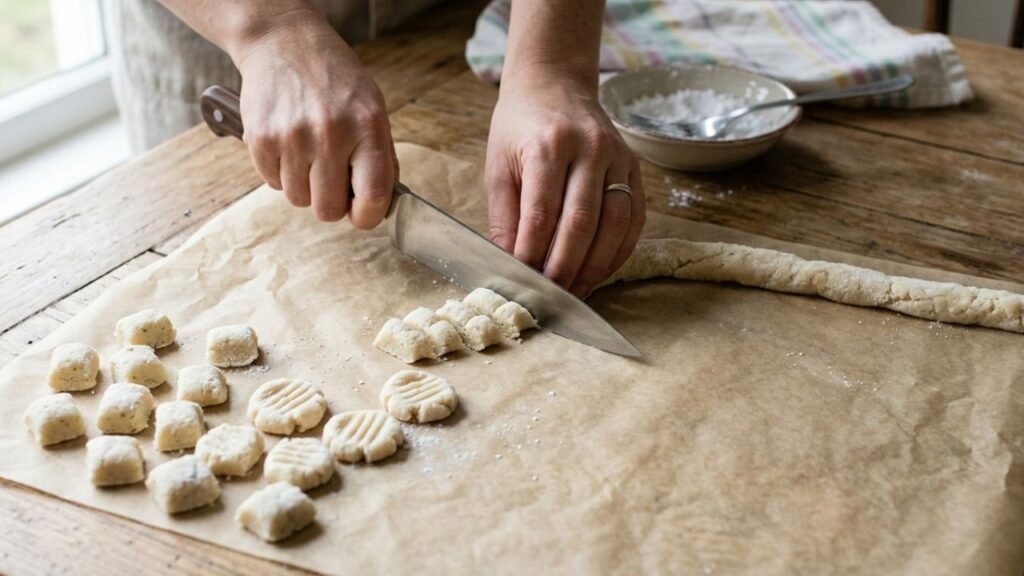
Roll the dough into narrow ropes and cut them into short pieces. Don’t worry about making them identical, as slight variations give them a homemade feel.
For a familiar finish, gently flatten each piece with a fork. Candy molds can add patterns, but simple shapes suit these old-fashioned sweets just fine.
6. Pastel Color Works Better Than Heavy Color
The pale colors associated with butter mints are part of their familiar look, but they should never overpower the candy itself. Soft shades keep the mints looking delicate and retain the old-fashioned character people expect from them.
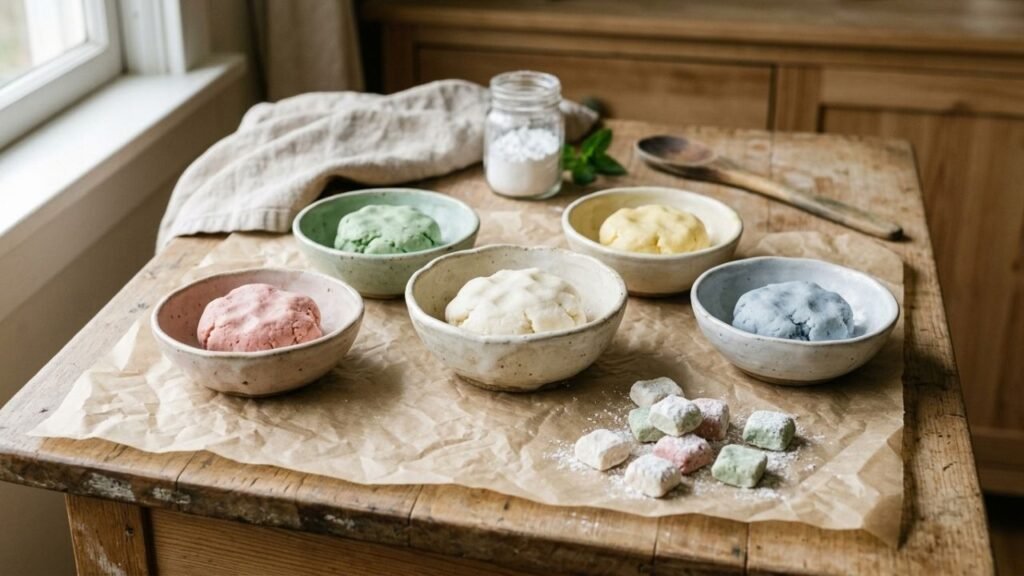
If you want pink, green, yellow, or blue mints, divide the dough before coloring it. Add only a tiny amount of food coloring at first, as it is easier to deepen a shade than lighten one that is too strong. For more information, See the FDA’s guide on Color Additives in Foods.
White mints are worth keeping in the batch as well. Mixed with the pastel shades, they create the simple candy-dish look that makes these little sweets so recognizable.
7. The Last Few Hours Matter More Than They Look
Freshly shaped butter mints are not finished when they have been cut. They need time to sit uncovered so the surface can firm while the inside stays softer. That gradual drying is what gives them their familiar texture.
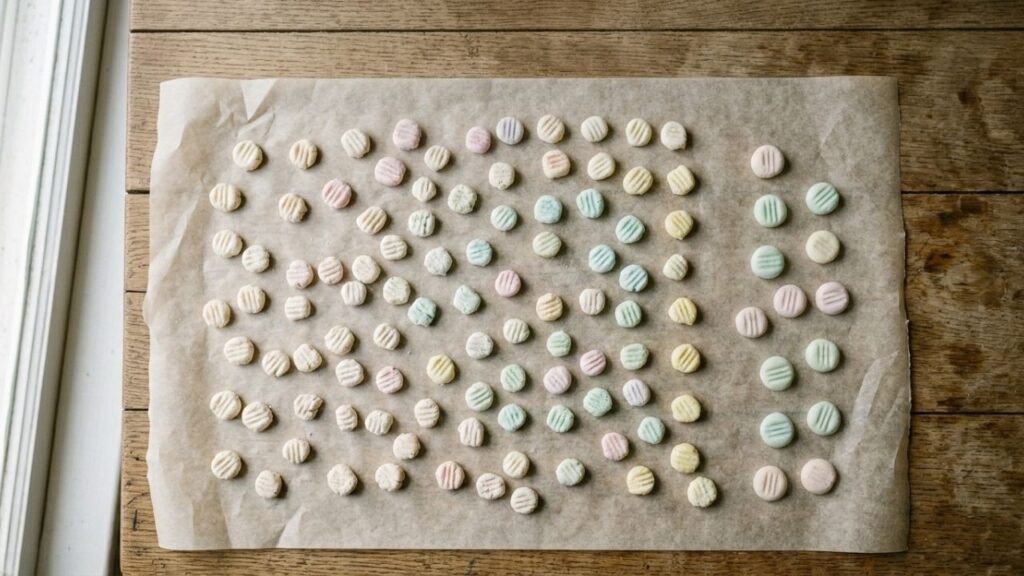
Spread the pieces on parchment or wax paper without piling them together. Smaller mints may firm up within a few hours, while thicker ones can benefit from resting overnight.
Don’t seal them while they are still soft. Trapped moisture can make the surface sticky instead of pleasantly firm.
Small Details That Make the Batch Easier
A few simple habits can prevent common frustrations.
Keep the dough covered while shaping. The unused portion can develop a dry surface while you work.
Use parchment. It makes moving the finished candies easier and keeps them from picking up unwanted flavors from the work surface.
Don’t overload the surface with powdered sugar. A light dusting is enough. Too much can leave the candies chalky.
Use a sharp knife. A blunt blade can squash the dough instead of cutting cleanly.
Test one mint first. After a few hours of drying, its texture will tell you whether the rest needs more time.
When the Texture Goes Wrong
The dough usually gives away the problem.
Too sticky: Work in powdered sugar a little at a time.
Too crumbly: Add a few drops or a small splash of milk or cream and knead again.
Too soft after drying: The pieces may be too thick, or the dough may contain too much moisture. Give them more uncovered drying time.
Hard and chalky: Too much powdered sugar is a likely culprit. Be more conservative with the sugar in the next batch.
Peppermint overwhelms everything: Start with less extract next time and adjust after tasting.
FAQs
1. How long do homemade butter mints last?
When completely dry and stored in an airtight container, they can keep for several weeks. Keep them away from heat and humidity.
2. Can butter mints be made without food coloring?
Yes. Coloring is purely decorative. White butter mints have the same basic flavor and texture.
3. Can salted butter be used?
Yes, although it will slightly change the flavor. Unsalted butter gives you more control over the final taste.
4. Why are my butter mints sticky?
The dough may contain too much moisture, or the candies may need more uncovered drying time. Humid weather can also slow drying.
5. Can the mints be made ahead?
Yes. Making them a day ahead gives the pieces time to develop a firmer outer texture.
6. Why did my mints crack when I rolled them?
The dough is probably too dry. Work it again with a very small amount of milk or cream until it becomes pliable.
A Candy That Rewards Restraint
Butter mints don’t need much intervention to feel special. Their character comes from a careful balance of butter, sweetness, and peppermint, with enough moisture to keep the center delicate. That simplicity is part of their charm, and it is also what makes small changes in texture and flavor so noticeable.
Once you understand what the dough should feel like, making them becomes less about rigid measurements and more about paying attention. The best batch won’t necessarily be the prettiest one on the tray. It will be the one that quietly disappears from the candy dish.