Old-fashioned peanut clusters are a familiar homemade chocolate candy made by combining roasted peanuts with melted chocolate and letting the mixture set into small, irregular bites. Sometimes called chocolate peanut clusters, they’re the sort of sweet you might remember from holiday candy trays, homemade gift boxes, or jars of treats kept for visitors. Their appeal has never depended on elaborate decoration. The combination of crunchy peanuts and chocolate is what makes them worth returning to.
Getting the chocolate and peanuts in the right proportion can be tricky, especially when clusters turn too soft or too sweet. This recipe helps you get the balance right.
Recipe at a Glance
| Detail | Information |
| Preparation time | 10 minutes |
| Cooking time | 0 minutes |
| Setting time | 30–60 minutes |
| Total time | Approximately 40–70 minutes |
| Yield | 18–24 clusters |
| Difficulty | Easy |
| Method | No-bake |
These times are estimates rather than a fixed promise. Preparation may take longer if you’re chopping chocolate or roasting peanuts yourself, and setting time depends on room temperature, cluster size, and whether you refrigerate them.
Ingredients for a Crunchy, Chocolatey Batch
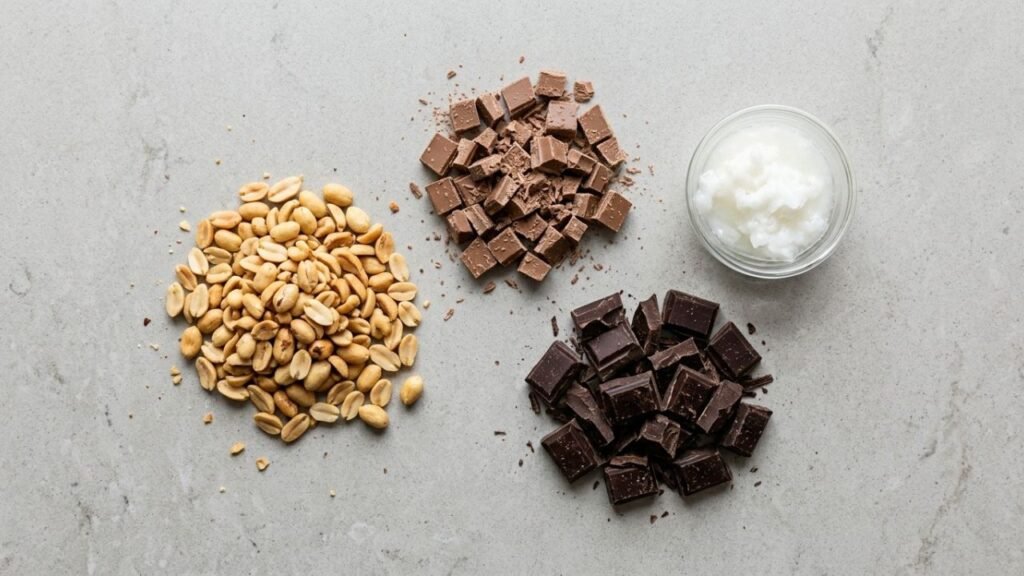
- 2 cups (280–300 g) roasted peanuts, preferably unsalted
- 250 g milk chocolate, dark chocolate, or a combination
- 1 teaspoon coconut oil (optional)
- A small pinch of salt (optional, depending on the peanuts and chocolate)
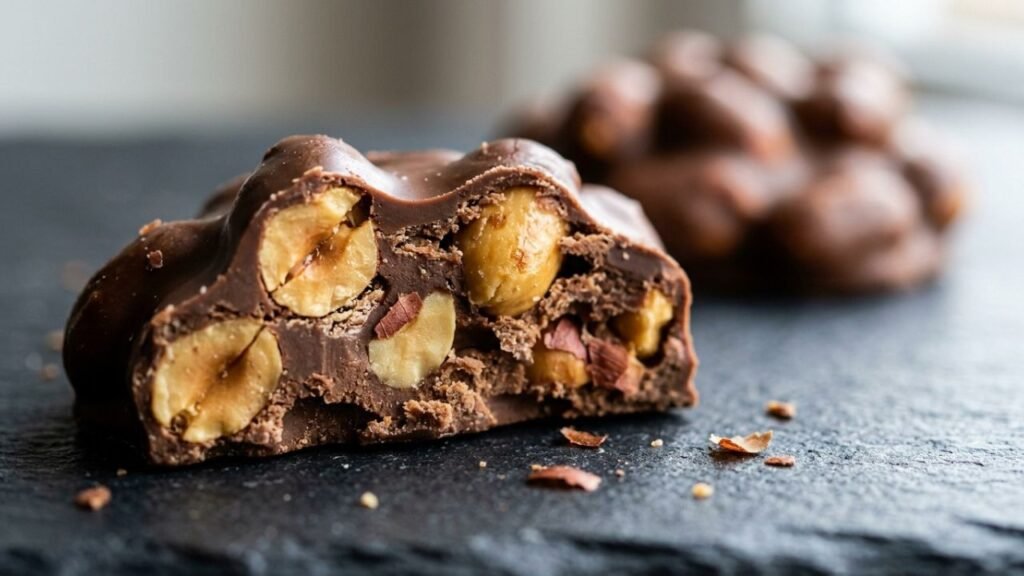
The chocolate-to-peanut balance matters more than adding extra ingredients. You want enough chocolate to hold the nuts together, but not so much that the peanuts disappear beneath a thick coating.
Roasted peanuts offer a fuller flavour and a crisp texture. Unsalted ones also give you better control over the finished sweetness and saltiness.
Ingredient Swaps That Still Work
| Ingredient | Possible replacement | What changes |
| Unsalted roasted peanuts | Salted roasted peanuts | The clusters taste saltier, so skip the added salt. |
| Milk chocolate | Dark chocolate | The flavour becomes more intense and less sweet. |
| Dark chocolate | Milk chocolate | The result is sweeter and creamier. |
| Coconut oil | Refined coconut oil or no added oil | The coating may be slightly easier to mix with oil; leaving it out keeps the chocolate firmer in warm conditions. |
Choose a replacement based on the result you want rather than assuming every swap will produce an identical texture.
Making Peanut Clusters Without the Fuss
The method is straightforward, but chocolate needs gentle handling. Prepare your tray before melting it, and keep water away from the bowl to avoid a thick, seized mixture. For more advice on getting a smooth result, see Hersheyland’s tips for melting chocolate without overheating it.
Directions
- Prepare the tray. Line a baking sheet or large plate with parchment paper. Make room in the refrigerator if you plan to chill the clusters.
- Melt the chocolate. Place the chocolate in a microwave-safe bowl and heat in 20-second intervals, stirring each time. Stop when the remaining pieces melt into a smooth mixture. Alternatively, use a heatproof bowl over gently simmering water.
- Add the optional coconut oil. Stir it into the melted chocolate if you want a slightly easier coating to mix and spoon. Leave it out if you prefer not to add extra fat.
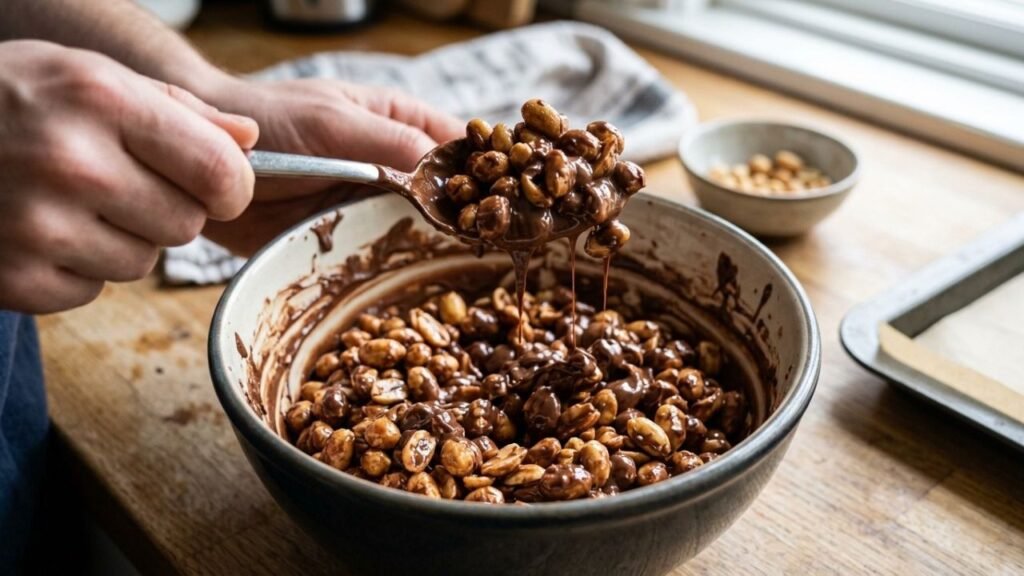
- Fold in the peanuts. Add the roasted peanuts and stir until they’re evenly coated. If the mixture looks excessively chocolate-heavy, add a few more peanuts.
- Shape the clusters. Drop heaped tablespoons of the mixture onto the lined tray. Leave a little space between each mound and gather any loose peanuts into the chocolate.
- Let them set. Leave the clusters at a cool room temperature or refrigerate them for about 30 minutes. Larger clusters and warmer rooms may require more time. They’re ready when the chocolate feels firm.
Serving Them Beyond the Candy Tin
Peanut clusters are rich enough to enjoy in small portions, making them a lovely addition to an afternoon tea or coffee break. Arrange them on a serving plate, add them to a holiday dessert table, or tuck a few into paper sweet cases for a simple homemade gift.
For a little variation, sprinkle flaky salt over the clusters before the chocolate sets. The slight saltiness balances the sweetness nicely. You can also combine milk and dark chocolate to create a coating that’s neither too sweet nor too intense.
If you’re serving the clusters to guests, keep them in a cool place until it’s time to eat. Chocolate can soften in warm weather, especially when coconut oil has been added to the mixture.
Keeping the Chocolate Firm and Fresh
Keep peanut clusters in an airtight container in a cool, dry place to help them retain their texture. If your kitchen is warm, refrigerate them instead, as chocolate can soften quickly in hot weather, especially when the clusters contain coconut oil. For broader advice on handling and storing food safely, see the FDA’s recommendations for safe food storage.
Properly stored clusters may stay fresh for around one to two weeks, depending on the ingredients and storage conditions. This is only a general guide, so check their appearance and smell before eating.
Before serving refrigerated clusters, let them sit briefly while covered to reduce condensation. There’s no need to reheat them, as warmth will soften the chocolate coating.
Small Mistakes That Can Spoil a Good Batch
- Overheating the chocolate: Excessive heat can make chocolate scorch or turn thick. Short intervals and frequent stirring give you better control.
- Letting water into the bowl: Water can cause melted chocolate to seize. Make sure the bowl and utensils are completely dry.
- Using stale peanuts: Chocolate won’t hide the flat, rancid flavour of old nuts. Taste them before starting.
- Adding too much chocolate: The clusters can become heavy and overly sweet. Add the peanuts gradually and check that the mixture remains well balanced.
- Moving the clusters too soon: Soft chocolate won’t hold the shape properly. Wait until the centres and outer coating have firmed up.
- Storing them somewhere warm: The coating may soften or lose its finish. Choose a cool location, especially during hot weather.
Questions That Often Come Up
1. Can I make peanut clusters without coconut oil?
Yes. Coconut oil is optional, and the recipe works without it. The chocolate may be a little thicker to stir, but you don’t need an extra ingredient to bind the peanuts.
2. Which chocolate works best?
Milk chocolate is a good choice if you prefer a sweeter candy. Dark chocolate gives a stronger cocoa flavour. A combination of the two offers a middle ground, so choose according to your taste.
3. Why are my peanut clusters not setting?
The room may be too warm, the chocolate may not have cooled sufficiently, or the mixture may contain too much added oil. Refrigerate the tray and allow more time before moving the clusters.
4. Can I use peanuts straight from the packet?
Yes, provided they’re already roasted, fresh, and suitable for eating. If they’re raw, roast them first and let them cool completely before mixing them with chocolate.
5. Can I make these clusters ahead of time?
Yes. They’re convenient for preparing ahead of a gathering because they need time to set and can be stored in an airtight container. Make sure you have a sufficiently cool place to keep them until serving.
6. How do I stop the clusters from becoming too sweet?
Use dark chocolate or combine it with milk chocolate. Unsalted peanuts also allow you to control the seasoning. Avoid adding extra sweet ingredients unless you specifically want a sweeter result.
7. Can I freeze chocolate peanut clusters?
Freezing is possible, although condensation and temperature changes can affect the chocolate’s appearance. If you freeze them, seal them well and allow them to warm gradually while still packaged before opening the container.
A Simple Sweet Worth Making Again
Old-fashioned peanut clusters are a good reminder that homemade sweets don’t have to involve complicated techniques or a long list of ingredients. Fresh roasted peanuts and chocolate do most of the work, while a little patience allows the coating to set properly. The result is a simple, crunchy chocolate treat that’s easy to prepare for everyday snacking, family gatherings, or sharing with friends.
Once you’ve tried the basic recipe, you can adjust the chocolate or add a pinch of salt to suit your taste. Keep the balance between peanuts and chocolate right, and you’ll have a homemade candy worth making again.