Turkey brining is an old-fashioned preparation that has found a permanent place in holiday cooking. In simple terms, a brine is salted water used to season poultry before it is cooked. You may also come across the term wet brine, while salting the turkey without water is usually called a dry brine. Both approaches are meant to deal with the same familiar problem. A whole turkey can look perfectly roasted on the outside while the breast meat ends up dry or the center tastes under-seasoned.
The difficult part is finding the right balance. Too little salt leaves the meat flat, while too much can make it unpleasantly salty. The guide below keeps that balance simple.
Don’t Rush the Brining
Brining and cooking times depend on the size of your turkey and the way you prepare it. These timings are useful starting points rather than fixed promises. Your bird, kitchen, equipment, and working speed can all change how long the job actually takes.
| Preparation | Approximate time |
| Prepare the brine | 10–15 minutes |
| Cool the brine | 30–60 minutes, or as needed |
| Wet brine | 8–24 hours |
| Dry the turkey afterward | 15–30 minutes |
| Rest before carving | 20–40 minutes |
| Roasting | Depends on turkey size and oven |
| Final resting time | 20–40 minutes |
The times are there to help you plan rather than tell you exactly how long you must spend. A larger bird may need more time, while a smaller one may need less.
The simple mix behind a well-seasoned turkey
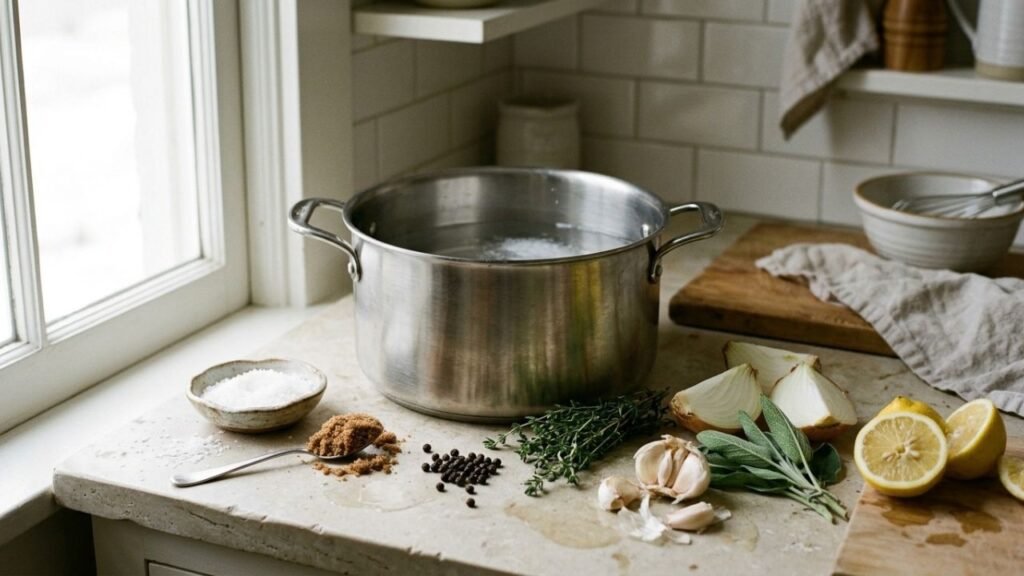
For a turkey weighing around 12–16 pounds
- 1 gallon cold water
- 1 cup kosher salt
- ½ cup brown sugar
- 2–3 bay leaves
- 1 tablespoon black peppercorns
- 3–4 sprigs fresh thyme
- 2–3 sprigs fresh sage
- 3 garlic cloves, lightly crushed
- 1 small onion, quartered
- 1 lemon, sliced
Salt is the part that matters most. The sugar, herbs, garlic, onion, and lemon give the brine character, but you do not need all of them for the turkey to benefit from brining.
Before doing anything, check the turkey’s packaging. Some birds are already injected or treated with a salty solution. Adding a full-strength brine to one of those can leave you with a much saltier turkey than expected.
A few substitutions without changing the character
Missing one ingredient is not a reason to abandon the brine. The easiest swaps are usually the ones that keep the flavor in the same general direction.
| Ingredient | Possible replacement | Difference |
| Fresh thyme | 1 teaspoon dried thyme | Slightly more concentrated |
| Fresh sage | ½ teaspoon dried sage | Stronger, earthier flavor |
| Brown sugar | White sugar | Similar sweetness, less depth |
| Lemon | Orange | Sweeter citrus note |
| Peppercorns | 1 teaspoon ground black pepper | More direct pepper flavor |
| Fresh garlic | ½ teaspoon garlic powder | Less aromatic but still useful |
If you do not have one of the herbs, simply leave it out. A turkey does not become poorly brined because one herb is missing.
Directions
The actual process is straightforward. What matters is keeping the brine cool, giving the turkey enough time, and drying the skin properly afterward.
1. Prepare the brine
Add the water, kosher salt, brown sugar, bay leaves, peppercorns, thyme, sage, garlic, onion, and lemon to a large container or pot.
If you prefer to warm some of the water first to dissolve the salt and sugar, that is fine. Just make sure the finished brine has cooled completely before the turkey goes in.
2. Get the turkey ready
Remove the turkey from its packaging and take out the neck and giblets if they are inside the cavity.
This is also the moment to check the label again. If the bird has already been treated with a salt solution, consider that when deciding how much additional salt it needs.
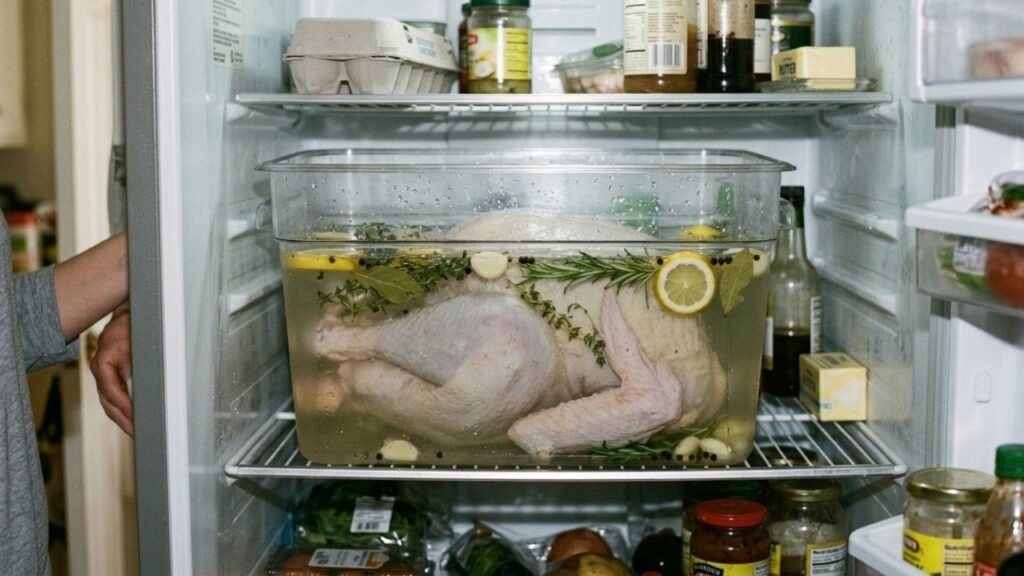
3. Place the turkey in the brine
Lower the turkey into the cooled brine and make sure as much of the bird as possible is surrounded by the liquid.
Keep the turkey refrigerated while it brines. A large food-safe container or bringing bag can make this easier, especially when refrigerator space is limited.
4. Let the salt do its work
Leave the turkey in the brine for roughly 8–24 hours, depending on its size and the strength of the brine.
There is no benefit to constantly checking or moving the turkey. Once it is submerged and kept cold, the process is mostly a matter of giving it enough time.
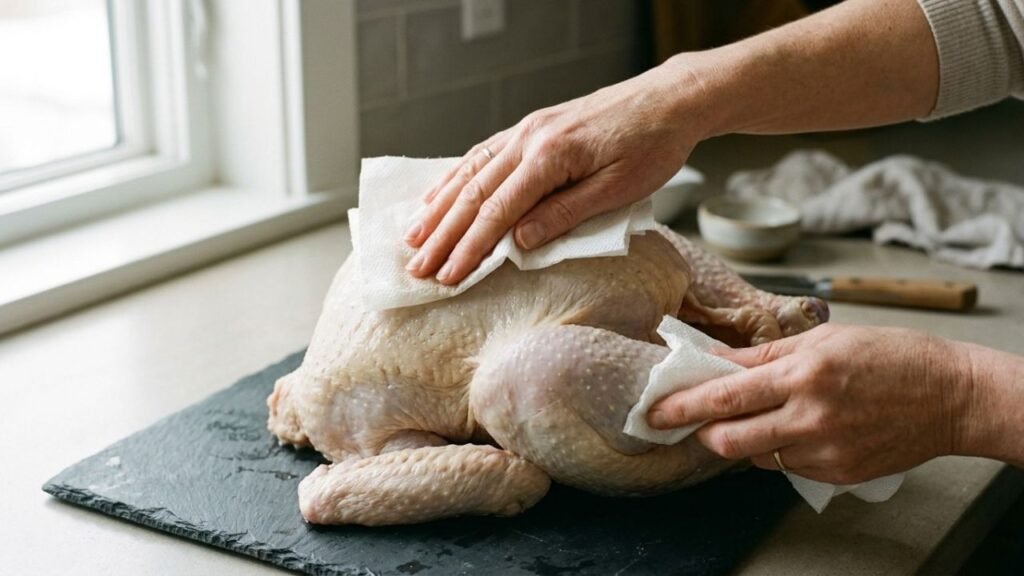
5. Remove and dry it well
Take the turkey out and discard the used brine.
Pat the entire bird dry with paper towels, paying particular attention to the skin. The drier the surface, the easier it is for the skin to brown properly during roasting.
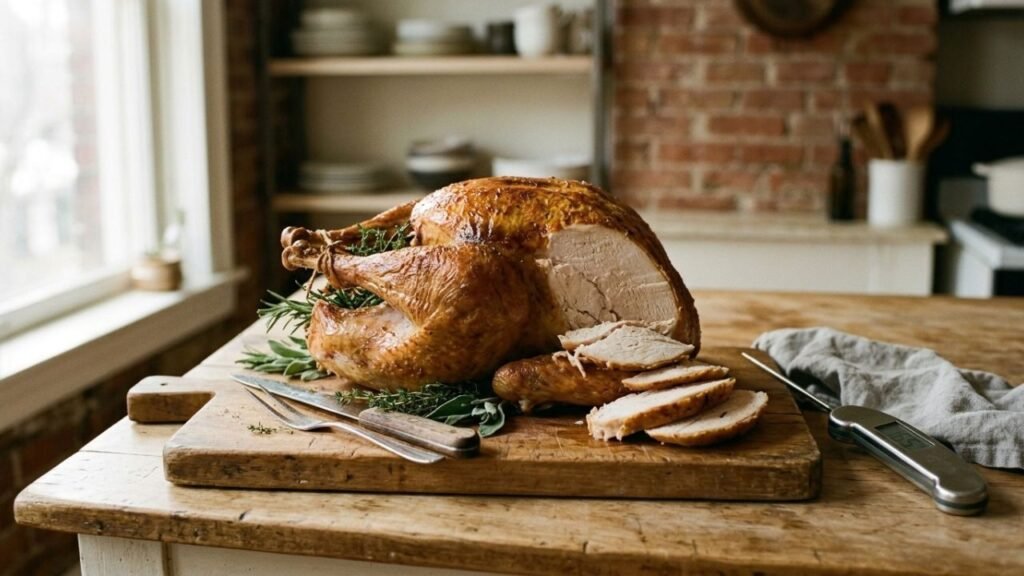
6. Roast and allow it to rest
Roast the turkey using your preferred cooking approach and check the thickest parts with a meat thermometer rather than depending entirely on the clock.
When it is finished, give the turkey time to rest before carving. The pause makes carving easier and gives the juices time to settle before you start slicing.
Let the sides give the turkey some room
A well-brined turkey already brings plenty of savory flavor, so the sides can stay simple rather than competing with it. Mashed potatoes, gravy, roasted vegetables, stuffing, or green beans all work well, while cranberry sauce or a crisp salad adds a fresh contrast.
If your brine includes sage, thyme, or citrus, echoing one of those flavors in a side dish can bring the plate together without making the meal feel repetitive.
Leftovers can stay useful beyond the first meal
Turkey leftovers are worth handling carefully because reheating can dry the meat out faster than the original cooking. Once the turkey has cooled appropriately, place it in a covered container and keep it refrigerated rather than leaving it out for a long period. USDA guidance recommends keeping cooked turkey in the refrigerator for up to four days, while prompt refrigeration remains important for food safety. For the wider storage guidance, see the USDA’s recommended turkey storage times.
When reheating, gentler heat usually works better than warming the turkey too aggressively. Add a little gravy or stock to sliced turkey if it seems dry, and adjust the reheating time according to how much meat you are warming and whether it is sliced or still in larger pieces.
The mistakes that quietly ruin a good brine
Brining a turkey that already contains added salt
Always check the label first. A pre-seasoned turkey may need less additional salt or a different approach altogether.
Measuring different salts as though they were identical
Kosher salt, table salt, and other salts do not necessarily have the same density. The same cup can therefore contain different amounts of actual salt.
Adding the turkey to warm brine
The brine should be completely cooled before the turkey goes in. Rushing this stage is not worth it.
Leaving the skin wet
Brining helps the meat, but wet skin makes browning more difficult. Dry the turkey thoroughly after removing it from the liquid.
Assuming more time means a better turkey
It does not. A stronger brine or unnecessarily long brining period can push the seasoning too far.
Turning the brine into a spice cupboard
More ingredients do not automatically mean more flavor. Salt is doing the main job. The other ingredients should support the turkey rather than overwhelm it.
Quick answers before you start
1. Can I brine a frozen turkey?
The turkey should be sufficiently thawed before brining. A heavily frozen bird will not allow the brine to work evenly.
2. Can I prepare the brine ahead?
Yes. Preparing it in advance can make the process easier because you have plenty of time to cool it completely before adding the turkey.
3. Will the turkey taste salty?
It can if the brine is too strong or the turkey stays in it too long. The aim is seasoning throughout the meat, not a cured flavor.
4. Can I leave out the sugar?
Yes. Sugar is optional. It contributes sweetness and can support browning, but it is not what makes the brine effective.
5. Should I rinse the turkey afterward?
Usually, there is no need. Remove the turkey from the brine and dry it thoroughly instead.
6. Is dry brining worth considering?
It can be, particularly if you want a drier surface and crisp skin or simply do not want to find refrigerator space for a large container of liquid.
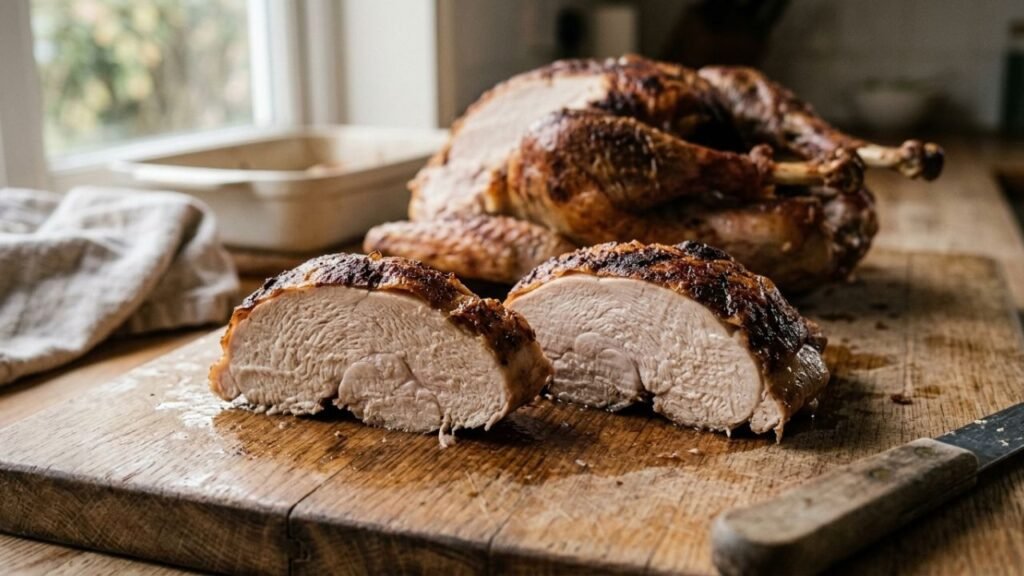
A better turkey usually starts before the oven
Brining does not need to make turkey preparation complicated. Its real value is giving the meat time to take on seasoning before it reaches the oven, so the flavor is not limited to the surface. Keeping the salt balanced, checking whether the turkey has already been seasoned, and giving the bird enough time will do more than filling the brine with a long list of ingredients.
The goal is not a turkey that tastes like brine. It is a bird that tastes naturally seasoned from the first slice to the last, with juicy meat and enough flavor to make every part of the meal feel complete.