Barley is an old grain with a surprisingly familiar place in everyday cooking. Sometimes called pearled barley when its outer layers have been polished away, it has long been used in soups, stews, porridges, breads, and hearty grain dishes. What makes it recognizable is not a delicate texture like rice, but a pleasant chew that remains even after the grain softens.
Barley can stay firm in the middle even after a long simmer, while too much cooking can leave it overly soft. Knowing when to stop is easier with this guide.
Recipe at a glance
The time below is a useful starting point, not a promise carved in stone. Your barley, pan, heat, and preferred texture can all change how long it takes, so use the clock as a guide and let the grain itself have the final say.
| Type of barley | Prep time | Cooking time | Total time |
| Pearl barley | 5 minutes | 25–35 minutes | 30–40 minutes |
| Hulled barley | 5 minutes | 45–60 minutes | 50–65 minutes |
Note this: These are estimated times for planning purposes. You may need more or less time depending on the barley you use and how tender you like it. When you cook it, check the texture near the end rather than assuming the listed time will always be exact.
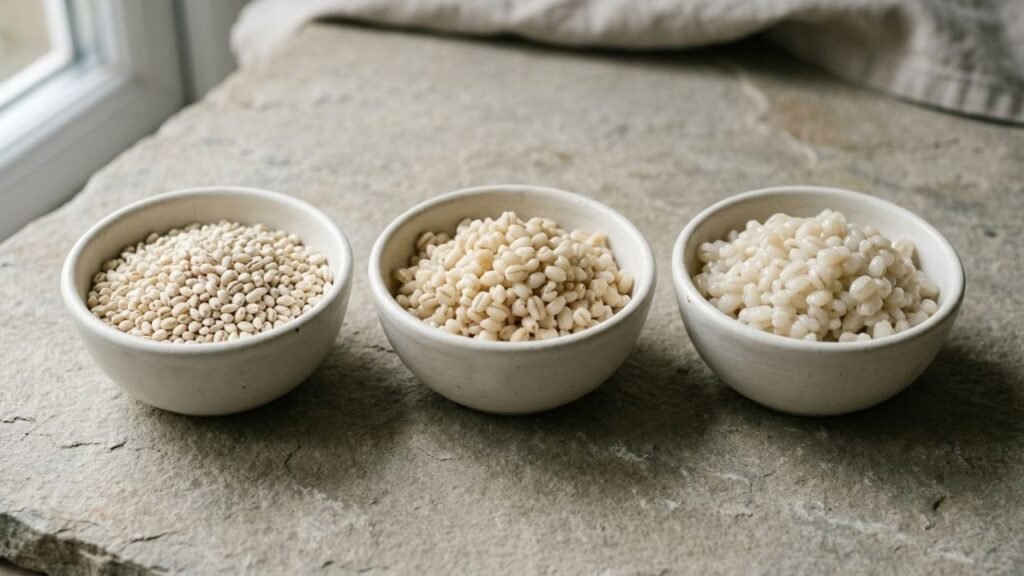
What you need on the counter
- 1 cup dry pearl barley
- 3 cups water or broth
- ½ teaspoon salt
- 1 tablespoon butter or olive oil, optional
The butter or olive oil is not essential. It simply gives the finished barley a little more richness and can make it feel less pain when serving it on its own.
Easy swaps when the pantry is missing something
Most of the ingredients here are straightforward, but the cooking liquid is easy to change depending on what you have available.
| If you don’t have | Use instead |
| Water | Vegetable, chicken, or beef broth |
| Broth | Water with a little extra salt |
| Butter | Olive oil |
| Olive oil | Butter |
| Pearl barley | Hulled barley, with a longer cooking time |
Hulled barley is the one substitution that needs attention. It is not simply a one-for-one swap in timing. Because it is less processed, it generally takes longer to become tender.
Where barley changes character
The method is uncomplicated, but a few small details make the difference. Keep the heat gentle once the liquid reaches a boil, and resist the temptation to judge the grain too early.
Directions
1. Rinse the barley
Put the dry barley into a fine-mesh strainer and rinse it under cool running water. Give it a few seconds of movement with your fingers, then let the excess water drain.
2. Bring the liquid to a boil
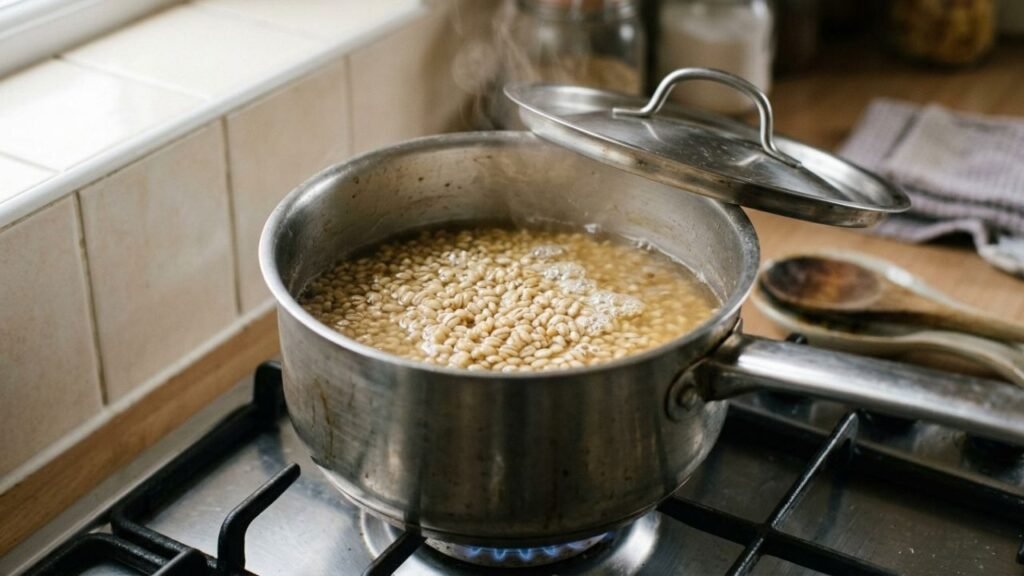
Add the barley, water or broth, and salt to a saucepan. Bring everything to a boil over medium-high heat.
3. Lower the heat
Once the liquid is boiling, reduce the heat to low so it settles into a gentle simmer. Cover the pan and let the barley cook.
4. Start checking the texture
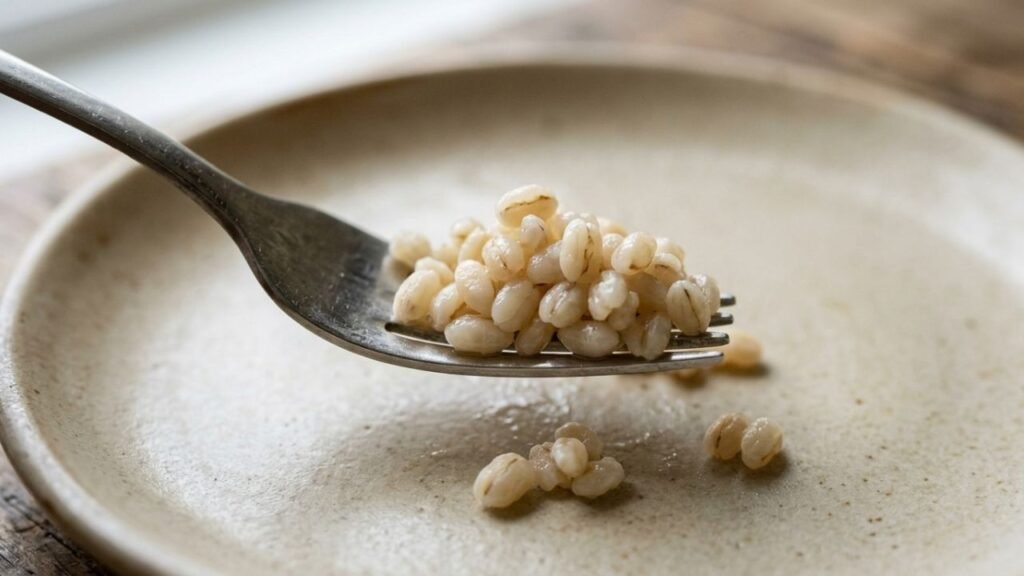
For pearl barley, begin checking around 25 minutes. Take out a few grains and bite into them. They should be tender without feeling hard in the middle.
If they are still firm, give them another 5–10 minutes and check again.
5. Drain if needed
If the barley is tender but there is still water in the pan, drain the excess through a fine-mesh strainer.
6. Finish and fluff
Return the barley to the warm pan for a minute or two if it seems particularly wet, then fluff it gently with a fork. Add butter or olive oil if you want a richer finish.
The important part is not achieving a particular number on the timer. It is reaching the texture that works for the dish.
Make the texture fit the meal
Barley is useful partly because it does not have to be cooked to exactly the same point every time.
When making a grain salad, keep it pleasantly chewy so the grains hold their shape against crisp vegetables, herbs, and dressing.
As a side dish, cook it until tender with a little resistance left in the center. This gives it enough character to stand beside roasted vegetables, meat, or fish.
For soup or stew, softer barley is often perfectly suitable. The longer it sits in hot liquid, the more it absorbs moisture and becomes plumper.
If you prefer a very soft texture, simply continue cooking. If you want distinct, chewy grains, stop earlier. Barley gives you some room to decide.
What to do with the leftovers
Cooked barley is useful the next day, which makes preparing a larger batch worthwhile if you already have a few meals in mind. Use it cold in a grain salad, warm it alongside roasted vegetables, stir it into soup, or use it anywhere you might normally reach for rice.
For storage, transfer cooled barley to an airtight container and refrigerate it. Around 2–3 days is a reasonable planning window, but how long you keep it is ultimately your choice and should depend on how it was cooled, stored, and how it looks and smells when you use it.
When reheating, add a small splash of water or broth if the grains seem dry. Warm them gently on the stovetop or in the microwave, stirring once or twice so the heat reaches the center.
Little Things That Can Throw Off Your Barley
Using the wrong barley. Pearl and hulled barley do not cook at exactly the same speed. Before deciding on a cooking time, it can help to understand the different types of barley and how they are processed.
Cooking at a hard boil. Once it barely reaches a boil, there is little benefit in keeping the heat aggressive. A steady simmer gives the grains time to soften without rapidly losing liquid.
Not using enough liquid. Barley expands considerably as it cooks. Starting with plenty of water or broth gives you more room for the grain to soften properly.
Stopping because the timer says so. A timer cannot tell you whether the center of a barley grain is still hard. Taste a few grains instead.
Expecting rice-like softness. Barley naturally has more chew. If you are waiting for every grain to become completely soft, you may end up cooking it much further than necessary.
Forgetting about carryover texture. If barley is going straight into a hot soup or stew, remember that it can continue softening there. You may want to stop the initial cooking slightly earlier.
A few things worth knowing before the next batch
1. Can barley be cooked without soaking?
Yes. Pearl barley can be cooked directly from dry, so soaking is not necessary for a simple everyday preparation. Hulled barley can also be cooked without soaking, although it generally takes longer.
2. Why is my barley still chewy?
Some chew is normal. If the grain is genuinely hard in the center, it simply needs more cooking time. Add a little more liquid if the pan has become dry and continue simmering.
3. Can I use broth instead of water?
Yes. Broth gives barley a fuller savory flavor, while water keeps the grain more neutral and useful across different dishes.
4. Should barley be rinsed before cooking?
Rinsing is a simple step that removes loose dust or particles from the surface. It takes very little time, so it is worth doing before cooking.
5. Can cooked barley be frozen?
Yes, cooked barley can be frozen. Let it cool, portion it into airtight containers or freezer-safe bags, and freeze it in amounts that make sense for your future meals. Thaw it in the refrigerator or reheat it gently with a little liquid.
The simplest way to get barley right
Barley does not demand complicated cooking. What it really asks for is a little patience and attention to texture. Start with the type of barley you actually have, give it enough liquid, keep the heat gentle, and taste it before deciding that it is finished. Once you learn that tender barley should still have some resistance, the grain becomes much easier to work with.
And that is perhaps the useful thing about cooking barley from dry. There is no need to make it more complicated than the grain itself. Let it soften gradually, decide how much chew you want, and use that texture to determine when it is ready.