A rump roast recipe for a classic homemade Sunday dinner starts with understanding the cut itself. Rump roast is the name most commonly used for this cut, although you may also see it called bottom round roast. It comes from the hindquarter of the cow, a hard-working area that produces lean, beefy meat rather than the heavy marbling found in premium roasting cuts. That is part of its old-fashioned appeal. It belongs to the tradition of home cooking where one roast anchors the table alongside vegetables, gravy, and whatever else happens to be cooking that day. Familiar and unfussy, rump roast has one quality that matters most: because it is lean, the way it is cooked can make the difference between tender slices and dry, chewy beef.
The problem with rump roast is keeping it tender without letting it turn dry or chewy. This approach keeps that balance in focus.
Getting Everything Ready Before the Roast
| Stages | Estimated time |
| Preparation | 15–20 minutes |
| Initial cooking | 15 minutes |
| Remaining cooking | About 60–90 minutes |
| Resting | 15–20 minutes |
| Total | About 1 hr 45 min–2 hr 25 min |
These are estimates, not fixed promises. Your roast may take more or less time depending on its weight, thickness, starting temperature, and oven. Use the times as a guide, but let the roast itself determine when it is ready.
What goes into the Sunday roast
- 1 rump roast, about 3–4 lb (1.4–1.8 kg)
- 2 tablespoons neutral cooking oil
- 2 teaspoons kosher salt
- 1 teaspoon freshly ground black pepper
- 1 teaspoon dried thyme
- 1 teaspoon dried rosemary
- 4 garlic cloves, finely chopped
- 1 large yellow onion, roughly sliced
- 2 carrots, cut into large pieces
- 2 celery stalks, cut into large pieces
- 2 cups beef stock
- 1 tablespoon Worcestershire sauce
- 1 tablespoon plain/all-purpose flour
- 2 tablespoons butter
Simple swaps for less familiar ingredients
| Ingredient | Replacement | What to expect |
| Beef stock | Chicken stock | A lighter gravy |
| Fresh garlic | Garlic powder | Milder garlic flavor |
| Dried thyme | Fresh thyme | Fresher herbal character |
| Worcestershire sauce | 1 tsp soy sauce + 1 tsp vinegar | More savory and slightly sharper |
| Yellow onion | White onion | A little more bite |
Directions
The goal is straightforward, brown the beef well, cook it gently after the initial heat, and give it time to rest. The clock is useful, but it should not be the only thing you watch.
1. Season the beef
Pat the roast dry. Season it all over with salt, pepper, thyme, rosemary, and garlic.
If you have time, season it several hours ahead and refrigerate it. Take it out before cooking rather than putting it straight from the refrigerator into the oven.
2. Brown the surface
Heat the oven to 450°F / 230°C.
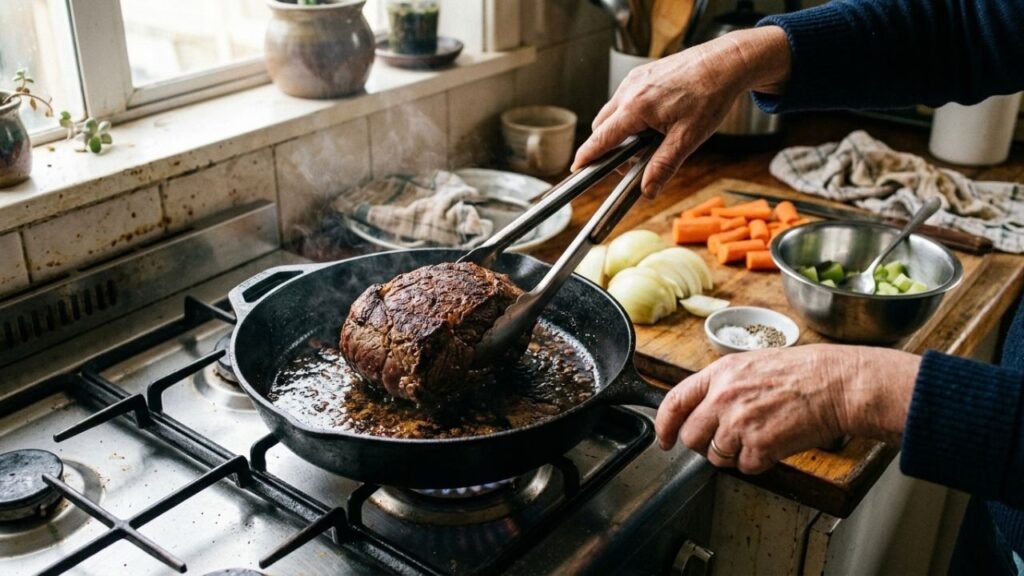
Heat the oil in a heavy ovenproof pan or Dutch oven over medium-high heat. Brown the roast on every side until it develops a deep color.
Remove the beef and add the onion, carrots, and celery. Cook for several minutes so they pick up some of the browned bits left in the pan.
3. Roast gently
Return the beef to the pan and pour about 1 cup of beef stock around it. The liquid should sit underneath the roast rather than cover it.
Roast uncovered at 450°F / 230°C for about 15 minutes, then reduce the oven to 325°F / 165°C.
Continue cooking until the center reaches the doneness you prefer. Because roasts differ in shape and thickness, begin checking before the estimated cooking time is over. For official guidance on using a food thermometer and checking safe internal temperatures, see the USDA’s recommendations for meat and poultry.
4. Rest and make the gravy
Transfer the roast to a cutting board and rest it for about 15–20 minutes.
Meanwhile, place the pan over medium heat. Stir in the flour, then gradually add the remaining stock and Worcestershire sauce while scraping up the browned pieces from the bottom. Simmer until thickened and finish with the butter.
5. Slice against the grain
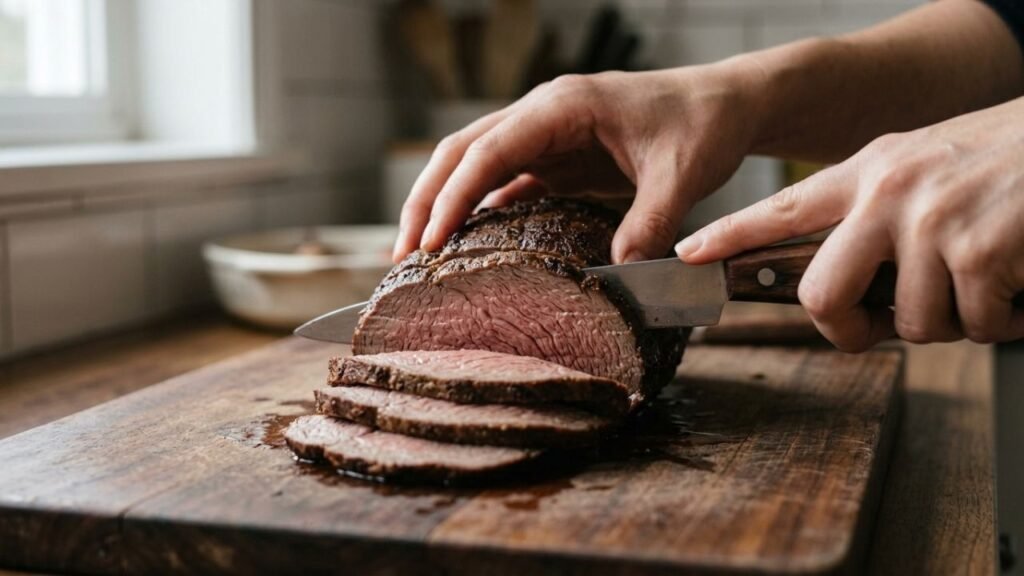
Look carefully at the direction of the muscle fibers and cut across them, not along them.
This small detail makes a noticeable difference. Shorter fibers are easier to chew, while slices cut with the grain can seem tough even when the roast itself has been cooked well.
Keep the plate generous, not complicated
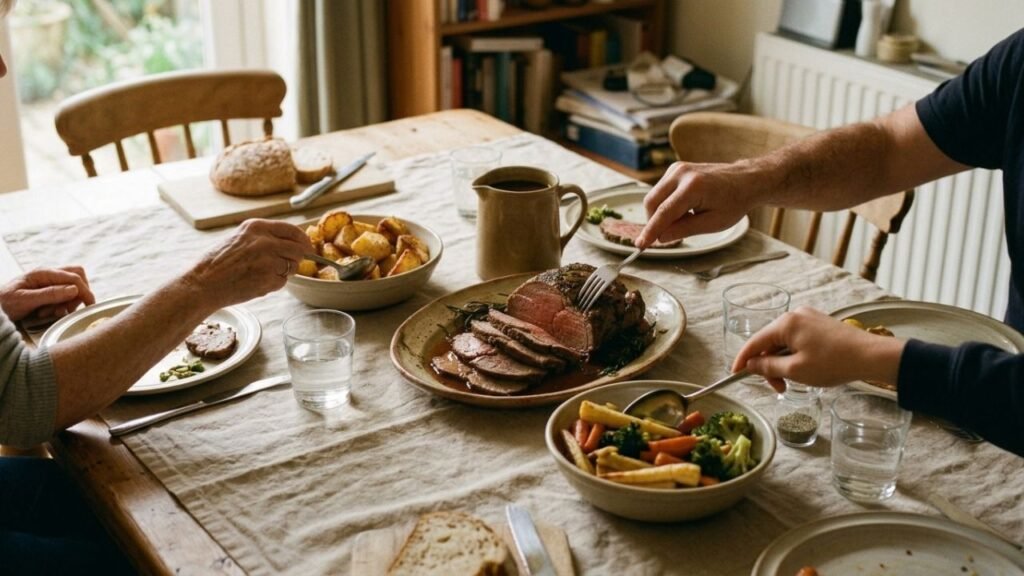
Rump roast already gives the meal its center, so the sides can remain simple. Roasted potatoes, mashed potatoes, carrots, green beans, peas, or another seasonal vegetable all work naturally.
Serve the beef with gravy spooned over the slices, or keep the gravy in a jug and let everyone add their own. The latter also keeps the browned exterior of the meat visible.
Leftovers have a second life
Cooked rump roast can be refrigerated and reheated later. For better texture, slice only what you need and warm it gently with a little gravy or stock.
The exact amount of time leftovers remain suitable depends on how quickly they were cooled, how they were stored, and how cold your refrigerator stays, so storage times should be treated as practical guidance rather than a guarantee. If the meat looks or smells questionable, discard it.
The small mistakes that make a big difference
Cooking strictly by time.
Roasts vary. Thickness, shape, starting temperature, and your oven all affect how quickly the center cooks.
Skipping the browning.
The browned surface contributes much of the roast’s deeper flavor and gives the pan juices something to work with.
Using too much liquid.
This version is roasted, not braised. A little stock in the pan is enough to help create the gravy without turning the roast into a pot roast.
Cutting it immediately.
Resting gives the roast time to settle before carving and makes it easier to serve neatly.
Slicing with the grain.
Find the direction of the fibers before you start cutting. It is one of the simplest ways to improve the texture.
Expecting rump roast to behave like prime rib.
They are different cuts with different characteristics. Rump roast is leaner and more substantial; its appeal comes from beefy flavor and proper preparation rather than rich marbling.
A Few Last Details to Know
1. Can rump roast be made ahead?
Yes. Cook it, chill it properly, then reheat individual portions gently with gravy or stock.
2. Why did my rump roast turn out tough?
Overcooking, unsuitable cooking conditions, and slicing with the grain can all contribute. The cut itself is also naturally lean.
3. Should rump roast be covered?
Not for this preparation. Cooking it uncovered allows the exterior to brown properly.
4. Can vegetables cook with the roast?
Yes. Onions, carrots, and celery work particularly well in the roasting pan and contribute flavor to the gravy.
5. Is rump roast good for gravy?
Yes. The browned meat, vegetables, and pan juices create a natural base for a simple gravy.
A Sunday roast does not need much more
The appeal of rump roast is not that it disguises an inexpensive cut as something luxurious. It is that, when treated according to its character, it becomes exactly what a Sunday dinner needs, substantial beef, good gravy, familiar vegetables, and enough food to put in the middle of the table.
The important part is understanding the cut. Rump roast is lean, so attention matters more than complicated tricks. Brown it properly, watch the cooking rather than blindly following the clock, let it rest, and cut against the grain. The result is a straightforward roast with the kind of presence that makes an ordinary dinner feel like Sunday.